The Roof Replacement Process: What You Need to Know
Noticing wear and tear on your roof? It might be time for a replacement. While it can feel overwhelming, this guide walks you through the entire roof replacement process—from inspection to completion. We’ll cover costs, materials, and key warning signs.
When to Replace Your Roof
Minor issues may only need repairs, but significant problems could mean it’s time for a replacement:
- Serious wear and tear affecting safety
- Major leaks causing interior damage
- Materials no longer durable or weather-resistant
- Your roof has reached the end of its lifespan
How Long Does a Roof Last?
A roof’s lifespan depends on materials, weather, and maintenance. Here’s how long popular materials last in the southern region:
- 3-Tab Composition: 10-15 years
- Dimensional Composition: 15-25 years
- Presidential Composition: 25-40 years
- Tile: 40-50 years
- Wood Shake: 15-20 years
- Metal: 20-40 years
If your roof is old or past its typical lifespan, it may be time to replace it.

Roofing Materials and Costs
Choosing the right material is key. Each option has pros, cons, and varying costs. While your current roof may influence your choice, it’s worth exploring alternatives:
- Asphalt Roofing Shingles ($3.00 – $6.00/sq. ft.)
- Wood Shakes/Shingles ($12.00 – $24.00/sq. ft.)
- Metal Roofing ($9.00 – $18.00/sq. ft.)
- Tile ($7.00 – $16.00/sq. ft.)
Roof replacement isn’t one-size-fits-all. Factors like size, pitch, materials, and installation all affect the cost. Exploring options and consulting a contractor can help you make the best choice. If you’re considering asphalt shingles, we partner with Owens Corning for durable, stylish options.
Roofing Financing:
Replacing your roof is a big expense, so it’s important to plan ahead. You can pay with home loans, credit cards, or cash. Many roofing contractors offer financing to make it more affordable.
With inflation and rising costs, locking in a fixed price can save you money. Some roofing companies (like us) offer financing starting at $60 a month, depending on your home’s size.
CAN HOMEOWNERS INSURANCE PAY FOR A ROOF REPLACEMENT
If you file an insurance claim, your insurance may cover a roof replacement. You will need to work closely with your insurance adjuster and an independent roofing contractor.
When filing a claim, consider these key points:
- Not all damages are covered.
- Coverage typically includes only storm-related damage.
- Damage isn’t always visible from the ground.
- You have one year from the date of damage to file a claim.
- An independent contractor is crucial to ensure you receive the coverage you deserve.
- Keep thorough documentation of all communication, including photos and written correspondence.
Keep in mind that insurance doesn’t cover all roof replacement cases. Exclusions can include neglect, insufficient maintenance, gradual wear and tear, and pre-existing conditions. Carefully review your policy and consult with an independent roofer to understand any exclusions and explore your options.
The Roofing Process Step by Step
Here’s a guide that walks you through each step of the roof replacement process, providing a complete overview.
Find a Roofing Contractor
Choosing the right roofing contractor is important. Here’s what to look for:
- A contractor with at least five years of experience.
- A locally-based company—avoid storm chasers or out-of-state solicitors.
- Proper insurance and licensing.
- Great online reviews from past clients.
- References from nearby completed projects, if possible.
These tips will help you gauge the quality of their work.
Roof Inspection:
To assess your roof’s condition, begin with a free inspection from a trusted pro. They can help determine if you need a replacement and recommend the best materials. They’ll examine structural integrity, shingles, flashing, underlayment, and check for any leaks or damage.
Most contractors offer these inspections for free and will advise if you need a replacement based on your roof’s condition and age. They’ll also provide a detailed quote, outlining costs and benefits of their suggested materials and solutions.
Property Preparation:
Once you’ve picked out your roofing and set your budget, it’s time to get your place ready for the replacement. Make sure there’s enough room for the construction crew, materials, and tools. It’s a good idea to remove any big branches, shrubs, or debris that might get in the way.
Check your coverage before you start because many roofing contractors include site prep in their bids. Getting things ready properly is key to a safe and high-quality roof replacement. This part is as important as any other, so don’t skip it!
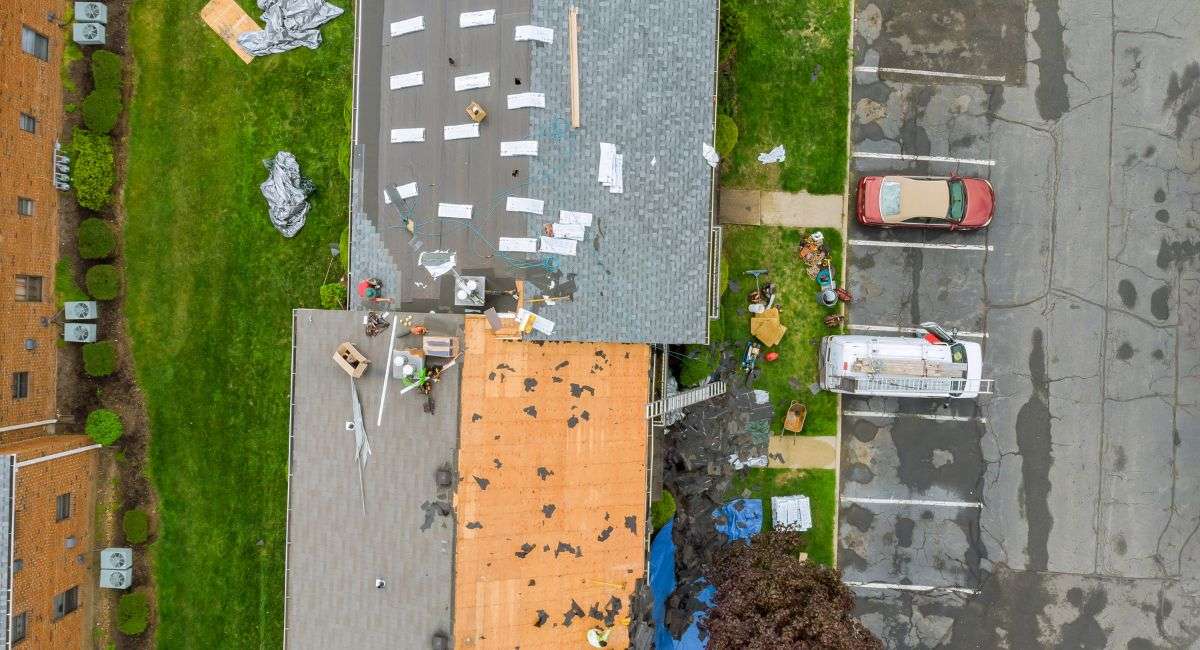
Before work begins, the contractor will use tarps or covers to protect your property from potential damage. They will also clean up any loose debris and secure any trees or roof accessories that may pose a risk during the replacement process. Contractors who skip safety precautions or have a sloppy job site are likely to encounter problems during installation.
Material Deliveries:
Roofing materials typically arrive at your home a few days before replacement begins. Inform your contractor where to place them and ensure there’s space for unloading. A local supplier will typically stack them in accessible spots like the driveway.
If access issues arise, discuss with your installer for special delivery instructions. The materials will be fine outside until installation.
Remove Old Roofing Materials:
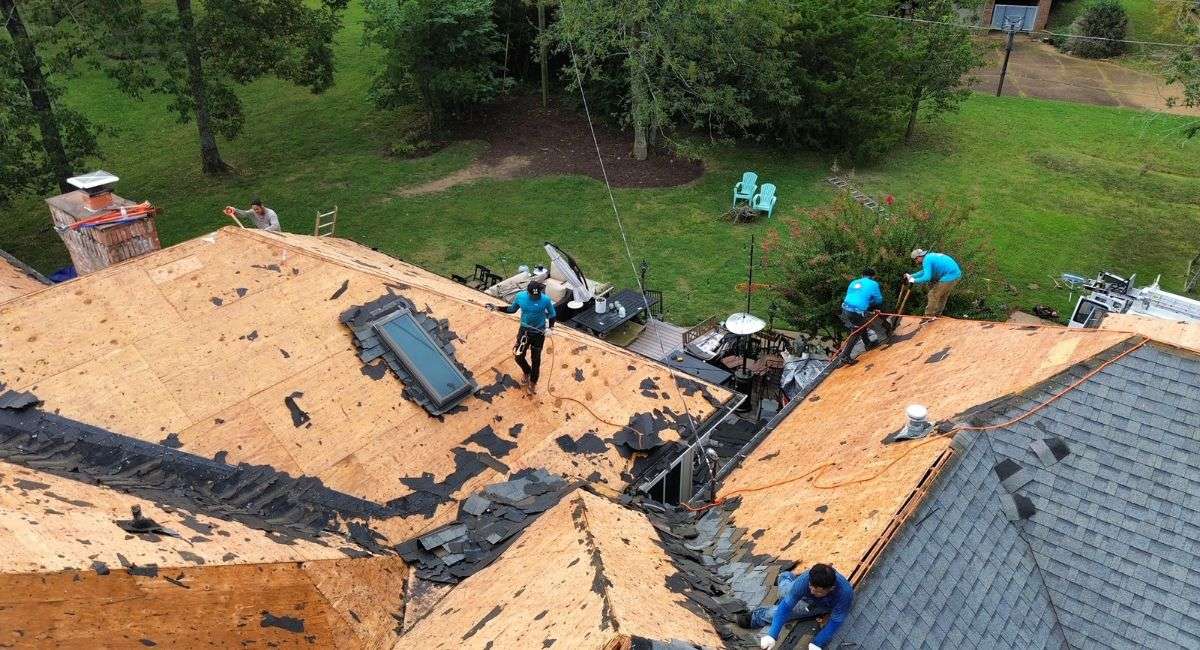
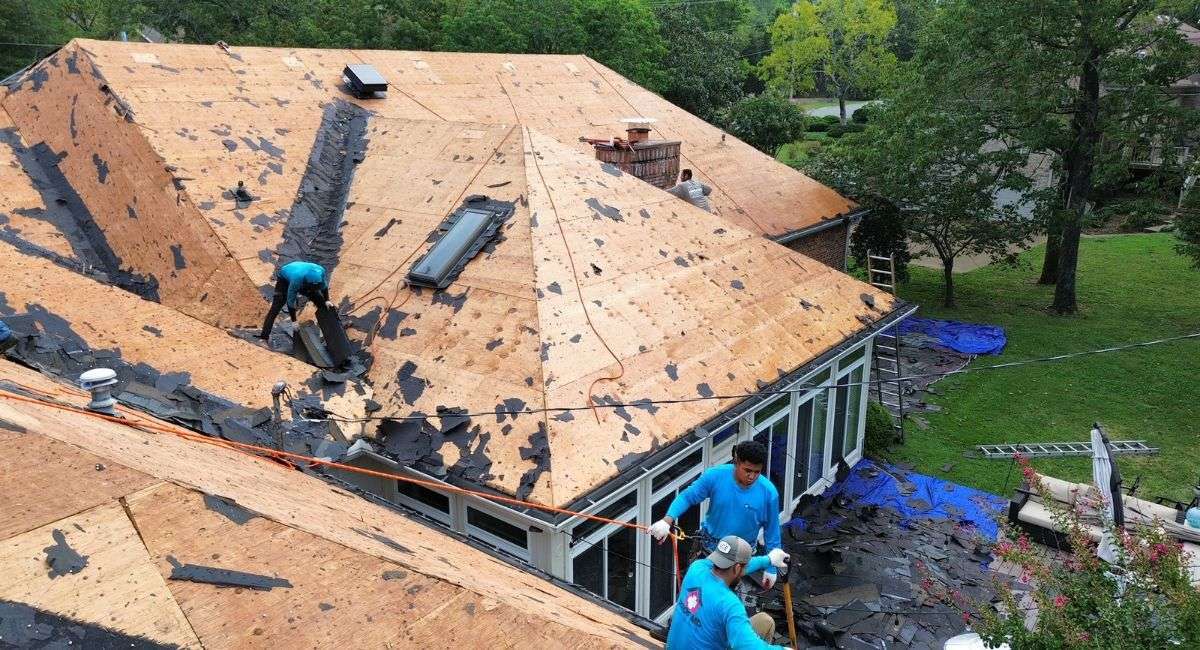
To replace a roof, first remove the layer of shingles or roofing materials down to the plywood or OSB sheathing. Tearing off the old roof should be done carefully. So you need to peel off shingles and tiles to protect the wood decking. A professional roofing contractor will clean up all the debris and get everything ready for the new roof.

WOOD DECKING INSPECTION STAGE:
The first step in any roofing project is checking and replacing damaged roof decking. Issues often appear only after removing old roofing materials, so discuss potential costs for wood replacement and repairs with your roofer in advance. Ask about charges for each sheet of plywood or OSB sheathing and set aside extra money for unexpected repairs.
To avoid unnecessary costs, have your roofer take clear photos of any water damage. This ensures repairs are valid and keeps you informed. Transparency builds trust and ensures you’re only paying for what’s needed.
Clean Gutters:
After removing the old roofing materials, it’s time to clean your gutters. This ensures they’re free of debris and ready to handle water from your new roof.
Replace Flashing:
Next, flashing is installed to direct water away from roof edges and your home. “Step flashing” works along walls and chimneys. Be sure to replace old flashings rather than reusing them, as skipping this step can lead to future issues.
Install New Underlayment:
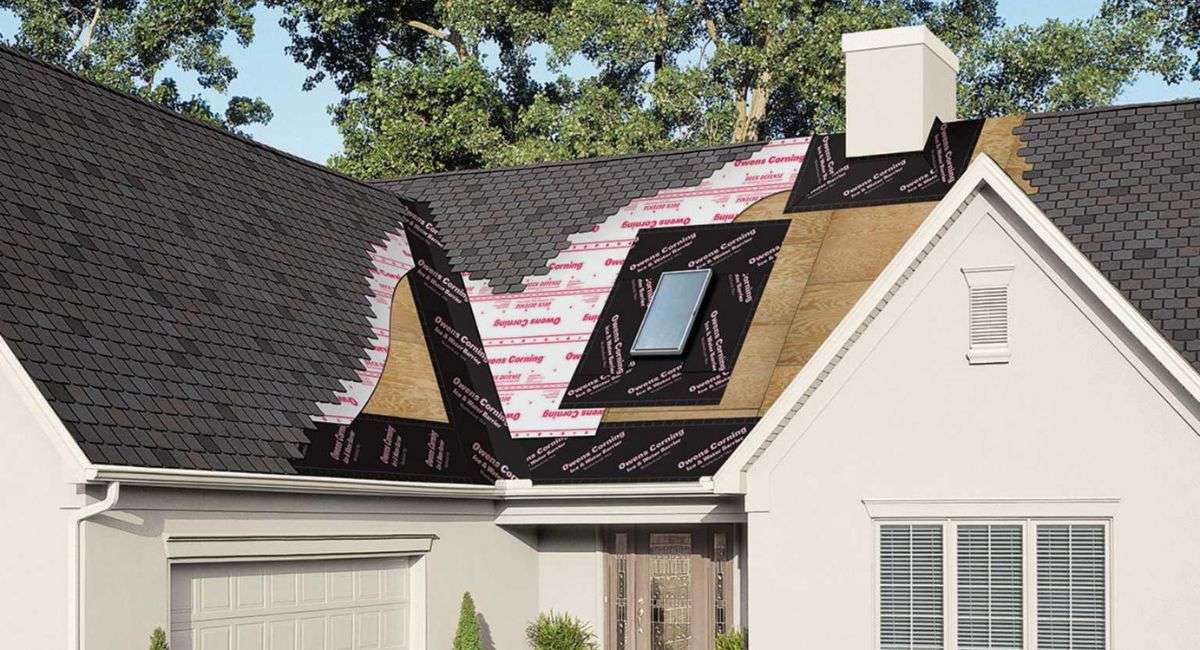
Before new roofing materials are added, roofers install a water-resistant underlayment over the roof decking.
Install the Water and Ice Shield:
A water and ice shield, also known as an ice and water barrier or self-adhering underlayment, is a crucial component of a robust roofing system. This specialized membrane is strategically installed on vulnerable areas of a roof, primarily along roof edges, in valleys, around chimneys, skylights, and other penetrations, or any location where water is prone to collect or ice dams are likely to form.
Its primary function is to provide an impenetrable barrier against water infiltration, offering superior protection compared to traditional roofing felt. The self-adhering nature of the membrane allows it to seal tightly to the roof deck, preventing water from seeping underneath the shingles or other roofing materials, even in extreme conditions. This protection is especially vital in regions that experience heavy snowfall or frequent, intense rainfall, where the risk of ice dams and subsequent water penetration is significantly higher.
By preventing water from reaching the underlying roof structure, a water and ice shield helps to safeguard against costly damage such as rot, mold growth, and compromised insulation, ultimately extending the lifespan of the roof and preserving the integrity of the entire building.

Install New Roofing Materials:
Once the underlayment is in place, your new roofing materials are installed. The time and difficulty depend on the material you choose. Asphalt shingles, the most common choice, are carefully placed to seal your roof.
Site Cleanup:

After the roof is installed, leftover debris, nails, and old materials are cleaned up. Ensure your contractor leaves your property as tidy as it was before.
THE FINAL INSPECTION STAGE:
The final inspection is when the contractor reviews their work and answers any questions you may have. If a permit is required, a city or county inspector will also review the project. Choosing a quality contractor is vital to avoid delays or issues.
The Importance of a High-Quality Contractor Throughout the Roof Installation Process
Hiring a reputable contractor is key to a safe, durable roof. A quality replacement boosts your home’s value and protects against weather, while poor workmanship can cause leaks and damage.
That’s where Roof MD comes in. As a top roofing contractor in Tennessee, we provide free inspections, detailed quotes, and flexible financing. Trust Roof MD for expert craftsmanship. Book your free roof inspection online or call 866-601-2408.
