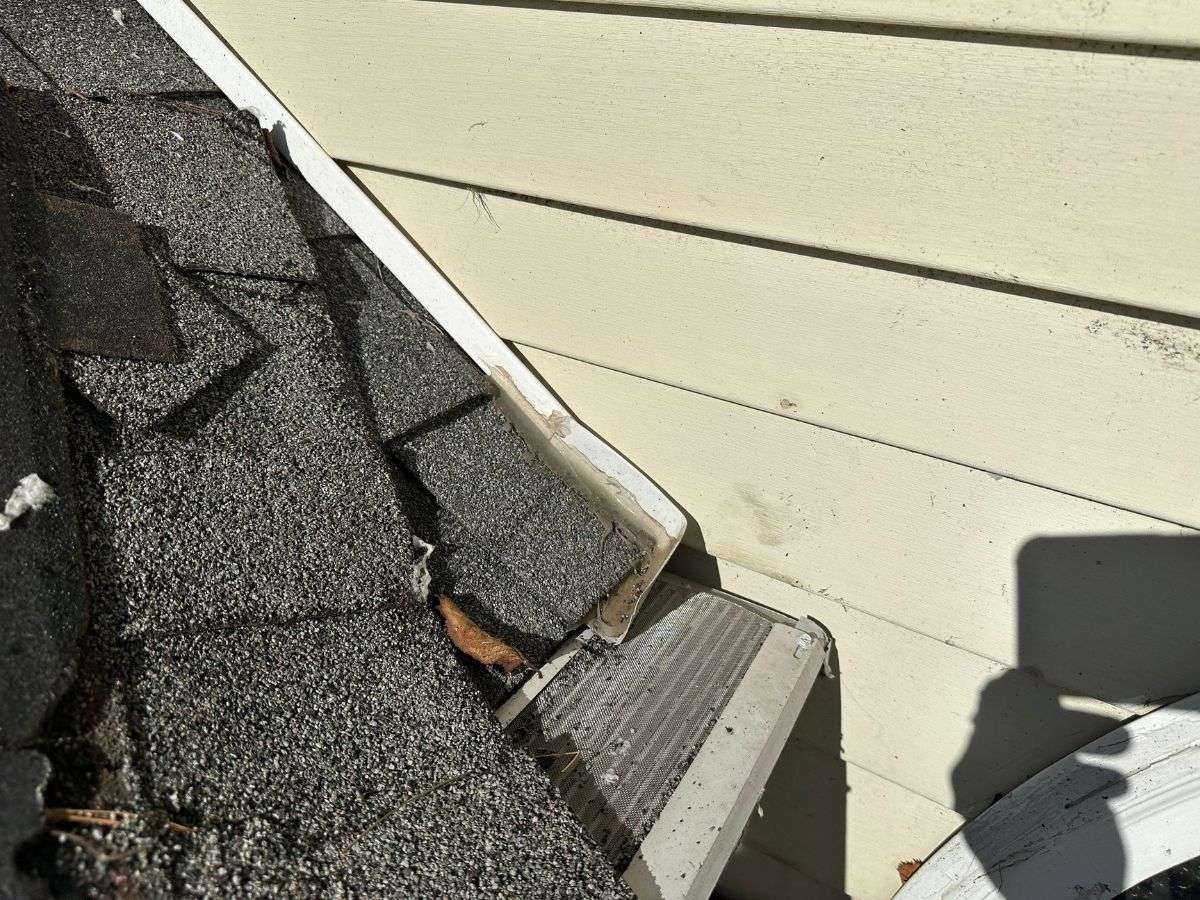
Roof to Wall Flashings: How They Help Prevent Roof Leaks
A roof valley is where two roof sections meet, forming a V-shaped channel that directs water and debris for proper drainage. You’ll usually spot roof valleys in more complex designs, like roofs with intersecting pitches or multiple levels. These valleys are key for preventing standing water, which can cause leaks and structural damage if not managed properly. However, they’re also one of the most vulnerable parts of a roof, requiring proper installation to last.
To protect roof valleys, durable materials like metal sheets (aluminum, steel, or copper) or waterproof membranes are commonly used. These materials are combined with base flashing, step flashing, and underlayment to prevent water from seeping into the roof. When installed properly, they direct water to gutters or away from the building, protecting your roof from water damage.
In this post, we’ll explore roof flashings, the types available, and why roof-to-wall flashings are key to a building’s structural health. We’ll also cover common flashing problems, signs of poor installation, and tips on what to look for when inspecting your roof system.
What is Flashing?
Flashing is basically a thin, waterproof barrier installed in key areas of your roof and walls to keep water out. It’s like armor for the most vulnerable parts of your home’s exterior, where water is most likely to sneak in. Flashing is usually made from metal (aluminum, steel, or copper) or membranes (EPDM rubber, PVC, or bitumen). Plastic or composites may also be used, depending on the roof design.
Flashing is installed in areas with heavy water exposure, like roof valleys, chimneys, skylights, vents, and where the roof meets walls. It directs rainwater away from these weak points into the drainage system, preventing water damage, mold, and structural issues. Without proper flashing, even strong roofs can fail in heavy rain or snow, leading to costly repairs.
In the next sections, we’ll cover types of flashings like step, continuous, counter, and valley flashing. We’ll also explain how to spot damage—like rust, loose edges, or gaps—and share tips to keep your roof leak-free.
What Kind of Flashing Are There?
There are several types of flashing used in roofing, each designed for a specific purpose. Here are some of the most common:
- Continuous (or Apron Flashing): This is a long metal piece that directs water down to shingles. Because long pieces can warp or crack due to changes in temperature, they’re made with built-in expansion joints to handle movement.
- Skylight Flashing: Some skylight manufacturers provide flashing, but roofers may also need to create or buy it separately.
- Valley Flashing: Open valleys are protected with metal flashing to keep this critical area water-tight.
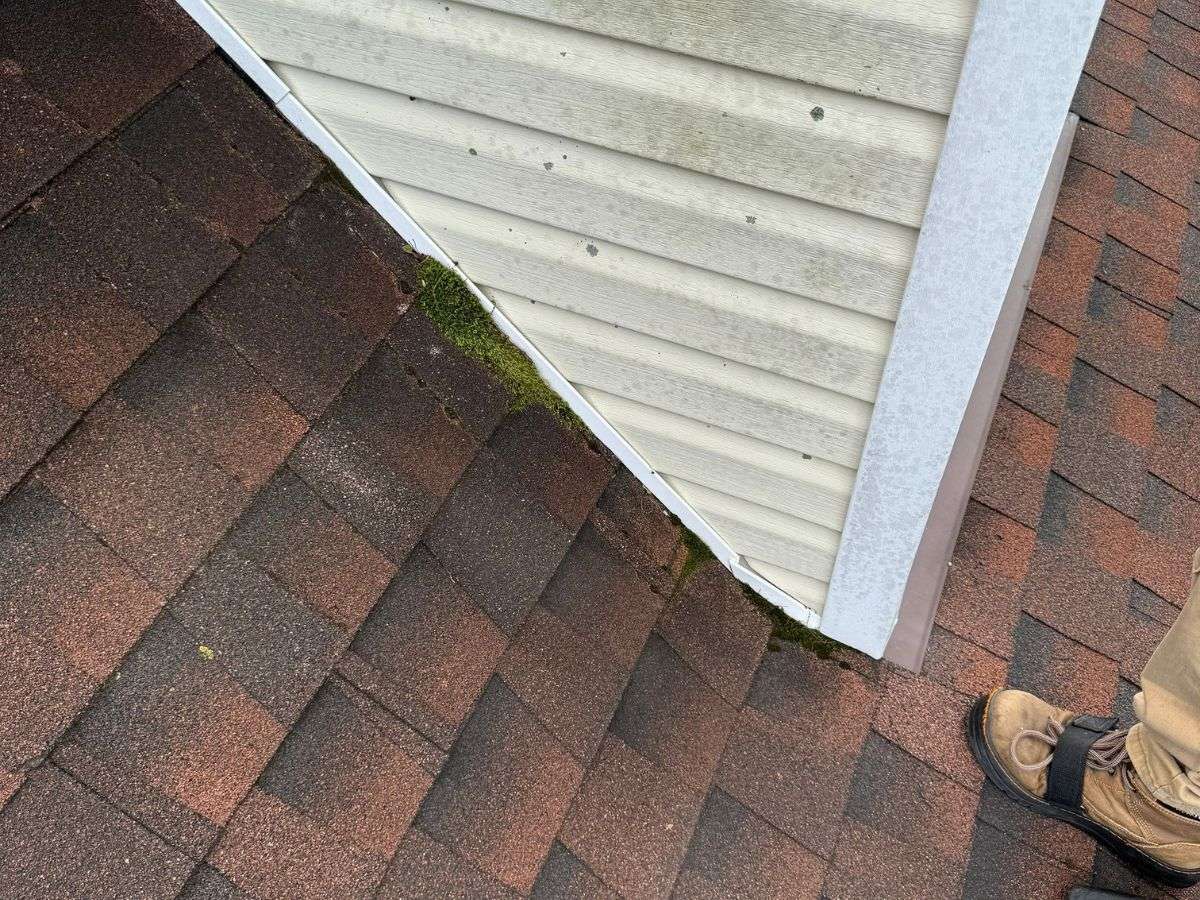
- Kickout Flashing: Bridges the gap between step flashing and the gutter, ensuring water flows into the gutter, not the wall.
- Drip Edge: Often cut from sheet metal to fit precisely, drip edge flashing prevents water from seeping under asphalt shingles. Be cautious with premade flashing, as some types are not durable enough for roofs and might break if used incorrectly. For instance, head flashing is specifically designed to protect doors and windows from water.
By understanding these flashing types and how they work, you can better protect your roof and avoid costly problems down the line.
What is a Roof to Wall Flashing?
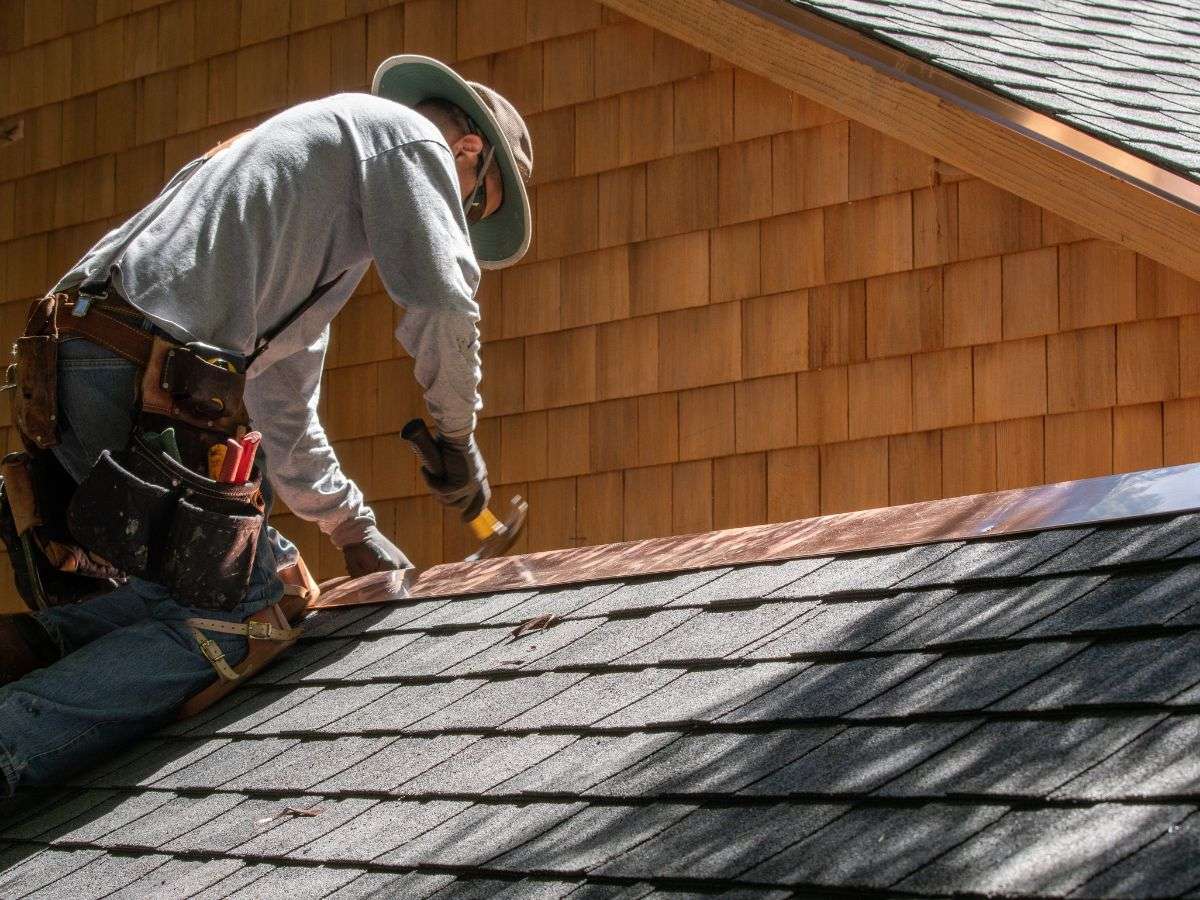
Effective water management in construction means keeping it away from structures, using drainage systems and flashing. Flashing, especially at roof-wall intersections, plays a big role in preventing water from getting inside. For shingle roofs, step flashing is the go-to, while continuous flashing works better for metal or rubber membrane roofs.
The essentials? Use corrosion-resistant materials and include a kick-out to guide water into the gutters. Roof to wall flashings consist of three main parts:
- Base flashing: The bottom piece of flashing used for roof features like chimneys, directing water downward. Installing it around chimneys can be tricky, but chimney flashing uses a two-piece system adjusted with weather changes to stay secure.
- Step flashing: A 90-degree bent rectangular piece, used at roof-to-wall intersections. It’s layered with shingles to push water away from walls.
- Counter-flashing: Installed above or opposite the base flashing, this completes the two-part system for extra water protection.
What Type of Materials?
Roof-to-wall flashing can be made from aluminum, copper, steel, PVC, or rubber membranes, depending on your budget, climate, and style. Modern roofing favors durable materials like aluminum and steel, while traditional lead is now outdated and less eco-friendly.
- Aluminum: Lightweight, affordable, and easy to shape. However, it needs a protective coating to prevent corrosion, especially in humid or coastal areas.
- Copper: Durable and easy to work with, even on complex roof designs. Over time, it develops a greenish patina that some love, while others might not.
- Steel: Galvanized or stainless steel is a top choice for its strength, malleability, and resistance to rust. While stainless steel costs more, it’s incredibly durable and low-maintenance.
Local building codes often specify the materials, thickness, and installation needed for flashings. For example, 26-gauge galvanized steel is commonly required for roof-to-wall flashing. Always check your local codes to stay compliant and avoid future issues. Choosing the right material is key to protecting and extending your roof’s life.
What About Sizing?
Getting the right size for roof flashing is as important as choosing the right material. Base flashing should be at least 4 inches wider than step flashing to fully cover potential water entry points and prevent leaks.
Step flashing should extend at least 8 inches up the wall for solid protection against rain and runoff. Overlap each piece by at least 2 inches to create a watertight shield, especially during heavy rain.
Sizing mistakes or poor overlaps can lead to leaks and serious damage. When in doubt, consult a roofing pro to check your flashing measurements and ensure everything meets building codes.
Should There Be a Gap?
No, there should never be gaps in your flashing. Flashing creates a continuous barrier to keep water out, protecting your roof and walls from moisture damage. Gaps, breaks, or poorly sealed seams can reduce effectiveness, letting water seep in and cause issues like rot, mold, and structural damage.
Proper installation is key to preventing these issues. Flashing seams must be tightly sealed, and the flashing should be securely fastened to handle all weather conditions, from heavy rain to strong winds. If you notice damage, loose pieces, or gaps, get them repaired quickly to avoid bigger problems. Regular roof inspections can also catch and fix flashing issues before they lead to costly repairs.
Do you Need Sealant?
Sealant or caulking can help with minor roofing fixes, but it’s no substitute for proper flashing. Sealants can patch small issues temporarily, but they eventually break down from UV rays, weather, and moisture, letting water in.
Flashing, however, redirects water away from critical roof areas like walls or chimneys. Unlike sealants, flashing is durable and built to handle the elements. Investing in proper flashing installation is a smarter choice, saving you from costly repairs and structural damage.
If you use sealant, it should only be as a backup—for sealing small gaps or overlaps in flashing. Even then, consult a roofing pro to ensure it’s applied correctly and doesn’t interfere with the flashing’s job. Ultimately, solid flashing and regular roof maintenance are the best ways to protect your roof and home from water damage.
Common Issues
Roof-to-wall flashings are essential for preventing leaks. They guide water away from where the roof meets the walls, a vulnerable area. However, problems can arise from poor installation, low-quality materials, or wear over time. Here are common issues with roof-to-wall flashings:
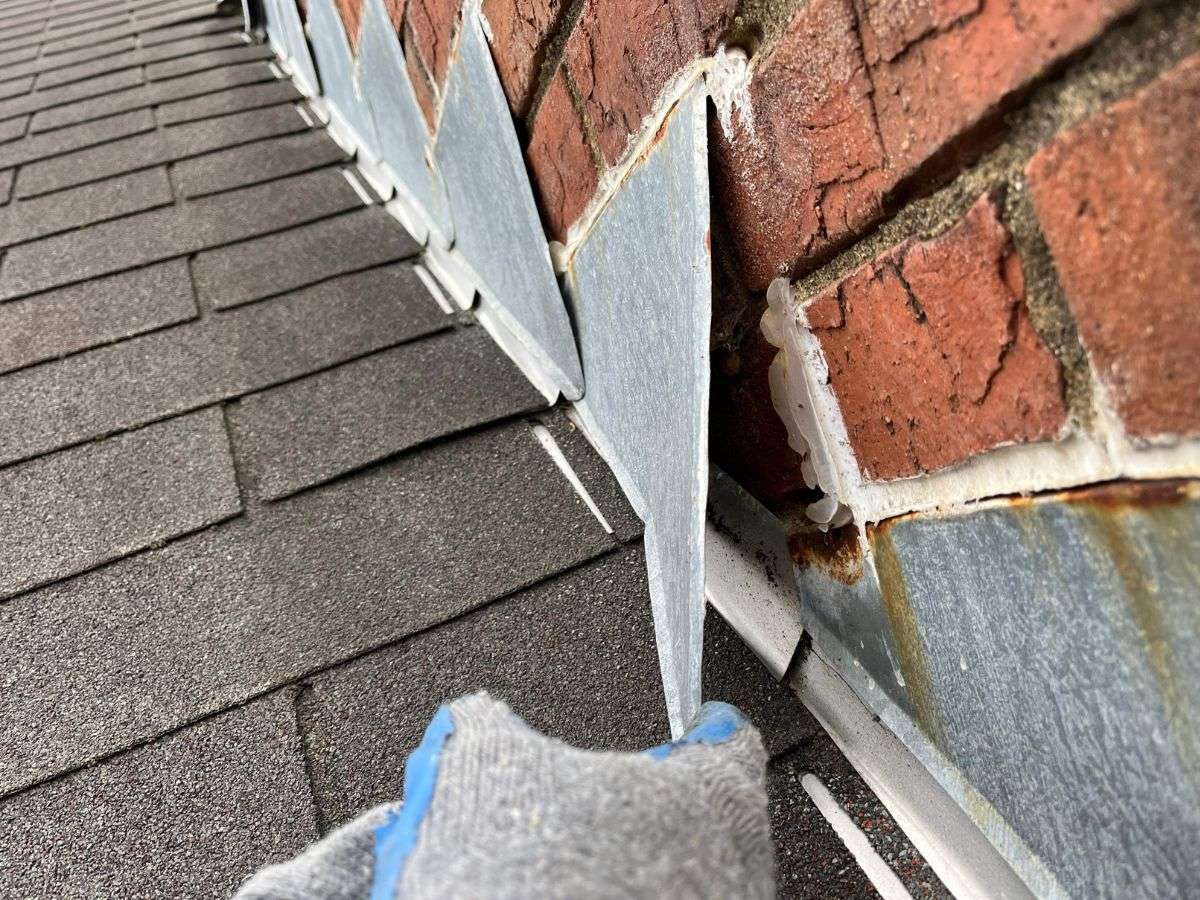
- Poor installation: Incorrect overlaps or fastening can cause gaps, allowing water to seep in and cause damage.
- Wrong materials: Flashings must be compatible with roof and wall materials. Using mismatched metals can lead to corrosion and shorten their lifespan.
- Insufficient size or shape: Flashings that are too small or poorly shaped may leave areas exposed to water.
- Low-quality materials or neglect: Cheap materials or lack of maintenance can cause flashings to deteriorate or fail. Regular upkeep extends their lifespan and prevents costly repairs.
- Bad drainage or slope: Poor drainage or slope near the roof-to-wall area can cause water to pool near flashings, increasing leak risks.
- Wall material issues: Leaks can also come from poorly installed siding, brick, or stucco near the roof junction.
Addressing these problems promptly helps keep your roof leak-free. Regular inspections and quality flashings are key to avoiding water damage and expensive roof repairs.
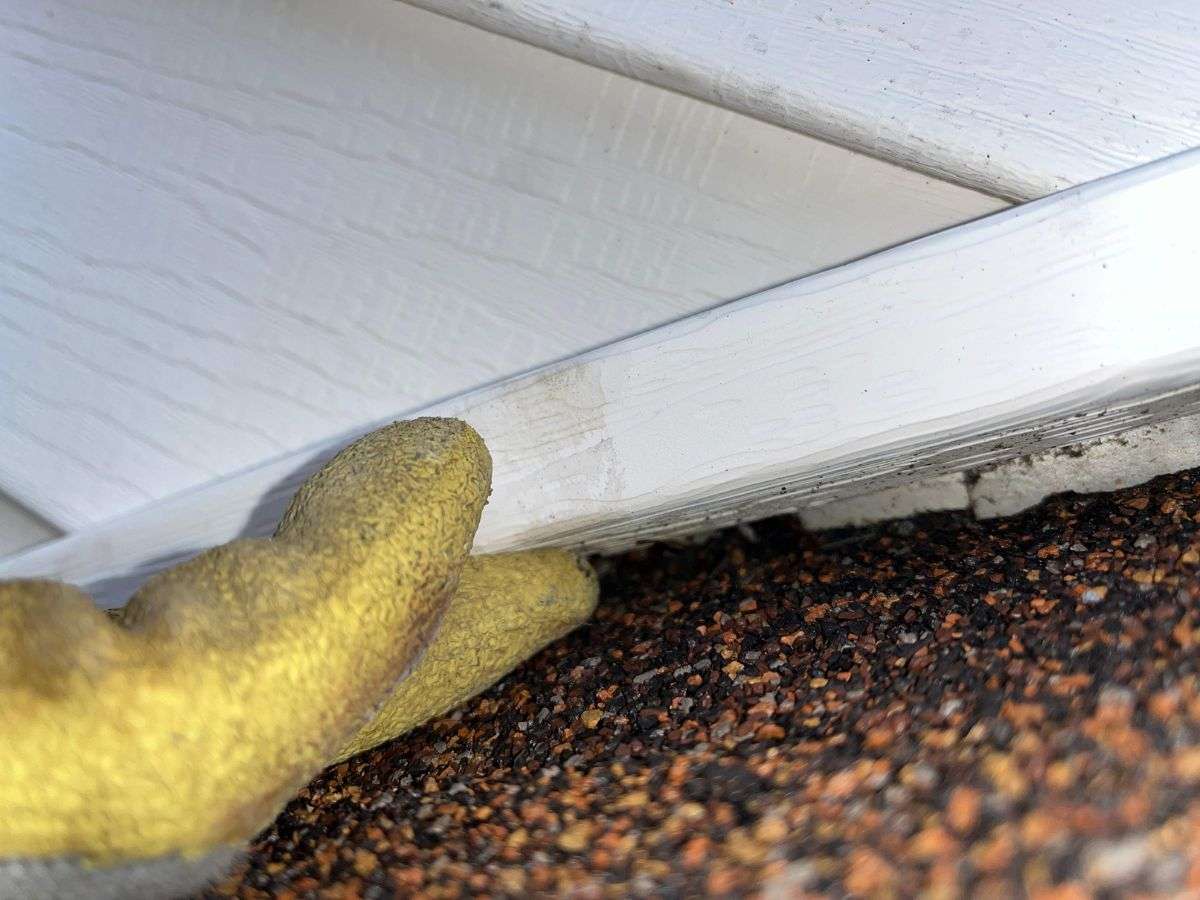
Can You Re-use Old Roof Flashing?
When re-roofing, it’s smart to replace all the flashing instead of reusing the old ones. Flashing keeps water out by directing it away from joints and seams where leaks happen. Old flashing can be worn, corroded, or poorly installed, making it more likely to fail.
A new roof should last decades, but reusing old flashing risks the entire system. Flashing should match the roofing materials, and your roof should have only one layer—too many can cause gaps and reduce efficiency. Skipping this step could lead to costly repairs later.
Some roofers reuse old flashing to save money, but this shortcut reduces your roof’s durability. Investing in high-quality, new flashing protects your home, extends your roof’s life, and saves money and stress in the long run. Learn more about roofing risks here.
What’s next?
Roof-to-wall flashings are vital for keeping water out, especially where the roof meets the wall. However, leaks can occur if they’re not installed properly, wear out over time, or have design flaws.
Regular inspections can catch damage, wear, or improper installation early. Simple maintenance like clearing debris, sealing edges, or fixing small cracks can keep them functioning well. Acting quickly on repairs can prevent minor issues from becoming costly problems.
The best approach is to work with experienced roofing professionals. They’ll ensure flashings are installed, maintained, and repaired correctly. Quality materials and expert work reduce leaks, improve durability, and give you long-term peace of mind.
If you’re concerned about your roof or flashings, don’t wait. Roof MD offers expert inspections, repairs, and re-roofing services using top materials and skilled contractors. Contact us today for a free roof inspection and protect your home for years to come.
